1. Open Windows 10 Mail by clicking the Start Button, then clicking on Mail
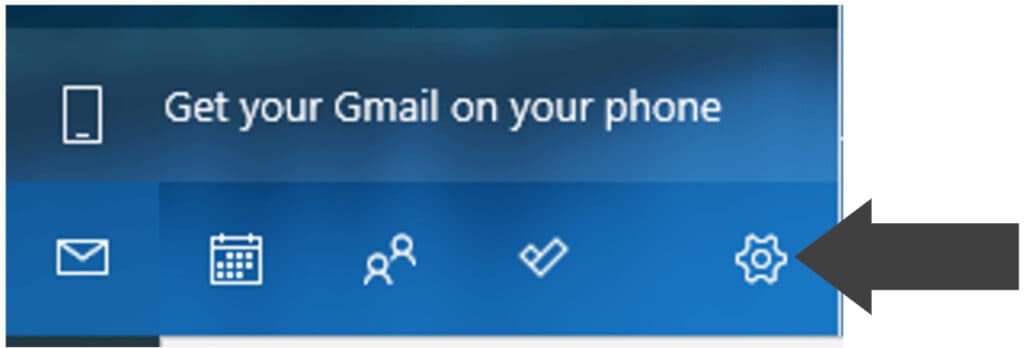
2. Once Windows 10 Mail has been opened, click the Settings Icon from the menu located at the bottom of the app
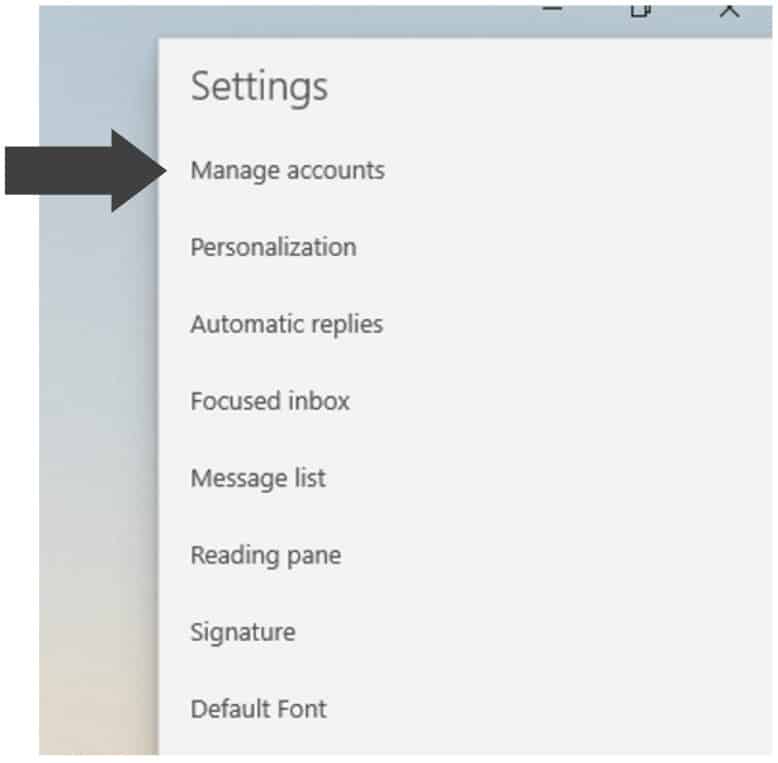
3. Click Manage Accounts from the Settings menu that appears on the right side of the screen
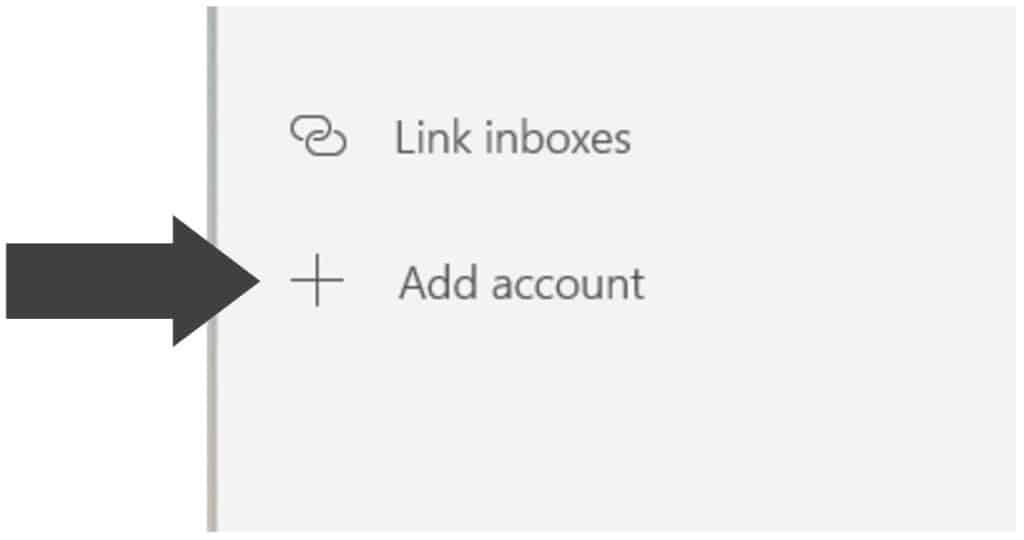
4. Click on the option labelled Add Account
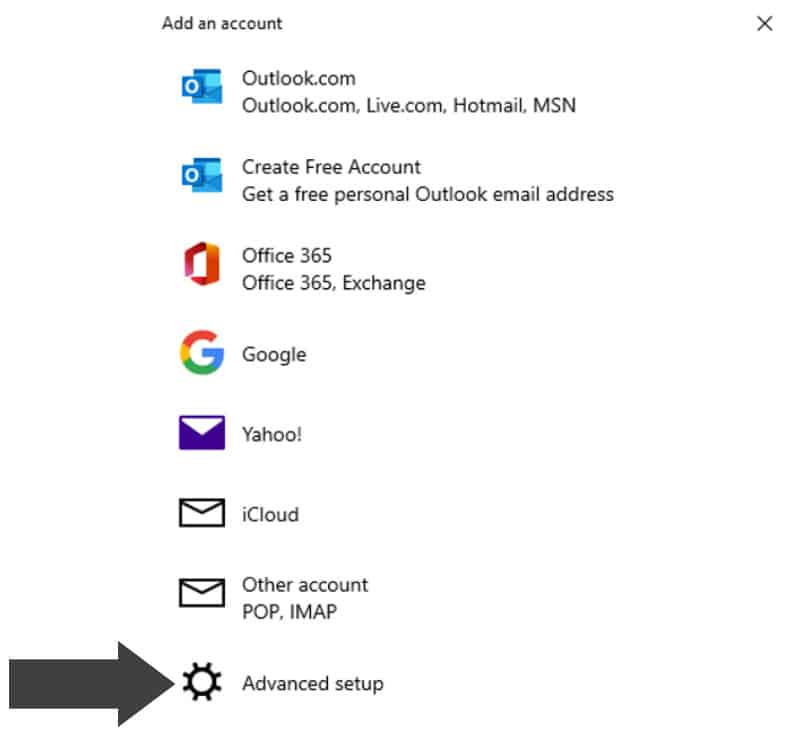
4. Click Advanced Setup from the list of different account types
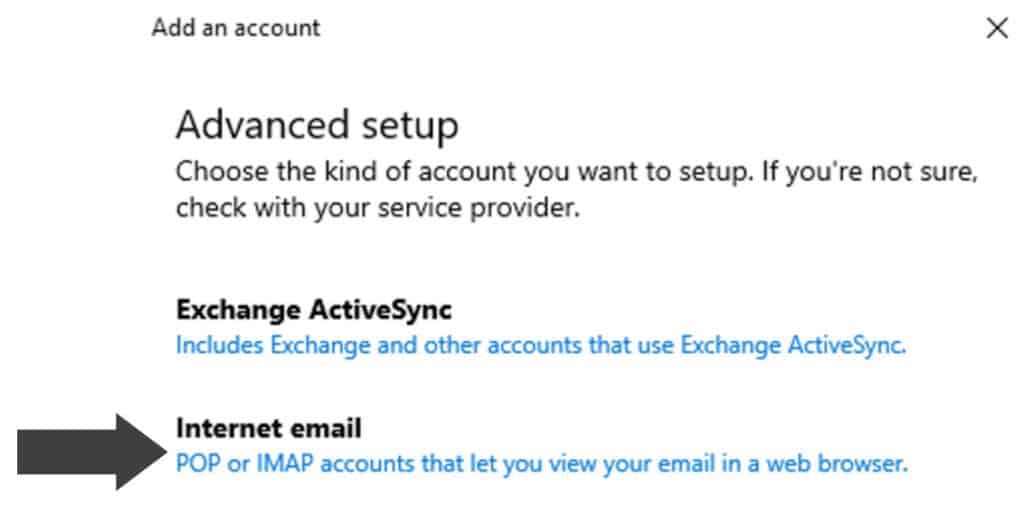
6. Click internet E-Mail to set up your account details
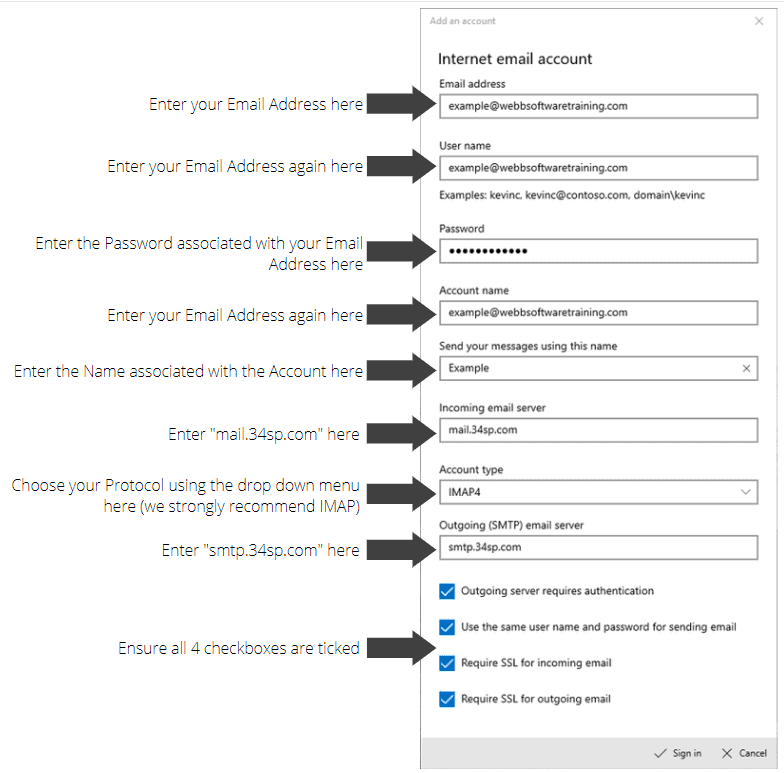
7. Fill out the form fields as directed
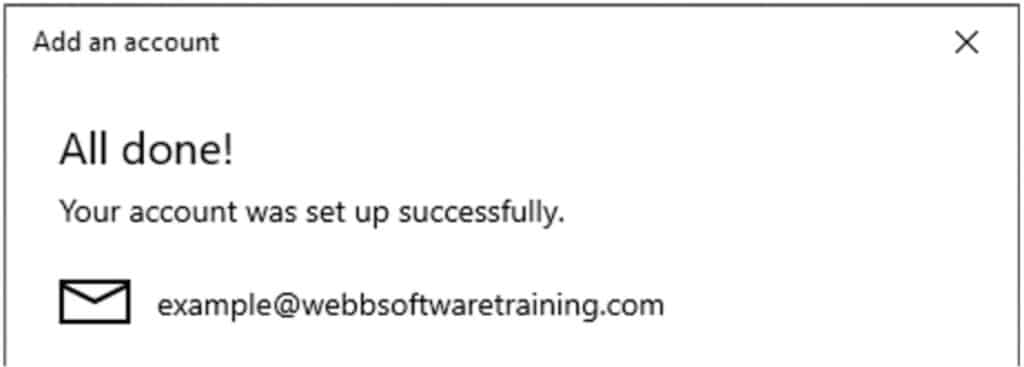
8. If you have entered your Account Details correctly you’ll see a message reading “All Done!”. Click the Done Button to complete the Setup Process
| Cookie | Duration | Description |
|---|---|---|
| cookielawinfo-checkbox-analytics | 11 months | This cookie is set by GDPR Cookie Consent plugin. The cookie is used to store the user consent for the cookies in the category "Analytics". |
| cookielawinfo-checkbox-functional | 11 months | The cookie is set by GDPR cookie consent to record the user consent for the cookies in the category "Functional". |
| cookielawinfo-checkbox-necessary | 11 months | This cookie is set by GDPR Cookie Consent plugin. The cookies is used to store the user consent for the cookies in the category "Necessary". |
| cookielawinfo-checkbox-others | 11 months | This cookie is set by GDPR Cookie Consent plugin. The cookie is used to store the user consent for the cookies in the category "Other. |
| cookielawinfo-checkbox-performance | 11 months | This cookie is set by GDPR Cookie Consent plugin. The cookie is used to store the user consent for the cookies in the category "Performance". |
| viewed_cookie_policy | 11 months | The cookie is set by the GDPR Cookie Consent plugin and is used to store whether or not user has consented to the use of cookies. It does not store any personal data. |